Call Us
(813) 440-8108

Updated July 2026 · Reviewed by the United HVAC Motors technical team
Read this before you touch the meter.
The most important thing on this page
PSC and ECM motors are not tested the same way. Almost every guide online gives you the PSC procedure and calls it universal. If your motor is an ECM, ohming the windings and testing a capacitor will tell you nothing, because there is no run capacitor and the control module sits between your probes and the windings. Identify the motor type first.
Run capacitor present → PSC. Follow the PSC procedure below.
No capacitor, control module bolted to the motor → ECM. Skip to the ECM section.
If you are unsure, our guide to the types of HVAC blower motors covers identification, and the symptom-based diagnosis guide covers the no-tools triage you should do before reaching for a meter at all.

Power off. Capacitor discharged. Disconnect its leads.
Set the meter to capacitance (µF) and probe the two terminals. Compare the reading to the rating printed on the can — typically something like 5 µF for a blower capacitor.
A capacitor that looks perfect can still be dead. Test it, do not eyeball it.
Power off. Motor leads disconnected. Set the meter to continuity or the lowest ohms range.
Probe between the motor's winding leads (common to each speed lead in turn).
Probe from any motor lead to the motor's metal housing.
You should read OL / infinity. Any continuity to ground means the winding insulation has broken down and the motor is shorted to case. Replace it. This is also a shock hazard, so do not power it back up.
If the windings and capacitor test good but the motor does nothing, the problem is upstream. With the system running and the meter on AC volts, check for line voltage at the motor terminals.
This is where the standard advice falls apart. An ECM is a brushless DC motor with a control module in front of the windings. Probing the motor leads is measuring the module, not the motor.
You cannot meaningfully diagnose an ECM by measuring capacitance (there is no capacitor) or by comparing winding resistance to a PSC spec table. And the most common ECM failure — a degraded control module — frequently will not show on a resistance test at all. It presents as intermittent operation, wrong airflow, or a motor that runs then stops.
Why the module fails is covered in our guide to ECM blower motors: it is almost always excessive static pressure, which makes the motor draw more current and cook its own electronics.
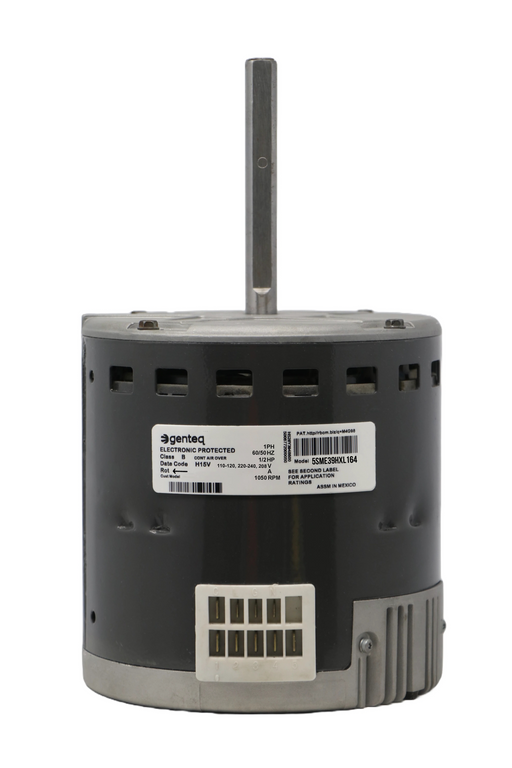
Remanufactured Motor by United HVAC Motors 2 Year Replacement Warranty (Terms Apply) Plug n Play - 100% Programmed Match your Motor Model N...
View full detailsRemanufactured Motor by United HVAC Motors 2 Year Replacement Warranty (Terms Apply) Plug n Play - 100% Programmed Match your Motor Model N...
View full details| Reading | Means | Action |
|---|---|---|
| Capacitance well below rated µF | Failed capacitor | Replace capacitor — cheap |
| OL across windings | Open winding | Replace motor |
| Continuity to housing | Shorted to ground | Replace motor — do not energize |
| No voltage at terminals | Upstream fault | Check board, relay, wiring |
| All tests pass, motor still dead (ECM) | Control module failure | Replace — and fix static pressure |
Check the warranty first (see blower motor warranty coverage). Out of warranty, compare OEM against a remanufactured Genteq ECM or X13 motor, rebuilt to OEM spec, shipped pre-programmed for your model, plug-and-play, 2-year warranty. Numbers in our replacement cost guide; procedure in how to replace an HVAC blower motor.
On a PSC: test the capacitor for capacitance against its rated µF, check winding continuity, check winding-to-ground for shorts, then confirm supply voltage. On an ECM the procedure is different — there is no capacitor and the control module sits between the probes and the windings.
A low, finite resistance across the windings. OL or infinity means an open winding. Near-zero where resistance is expected means a short. Any continuity from a winding lead to the motor housing means the motor is shorted to ground and must be replaced.
Only partially. You can confirm supply voltage, check the control signal, and test winding-to-ground. You cannot diagnose it by capacitance or by PSC winding-resistance specs, and a degraded control module often does not show on a resistance test at all.
Yes. A run capacitor stores a lethal charge even after the power is off. Discharge it before touching the wiring.
Check winding continuity, then winding-to-ground, then supply voltage at the terminals. No voltage means the fault is upstream in the board or wiring, not the motor.
Confirm the motor type before you test. If it is dead, compare OEM against a programmed remanufactured unit with a 2-year warranty. USA-based technical support in English and Spanish.
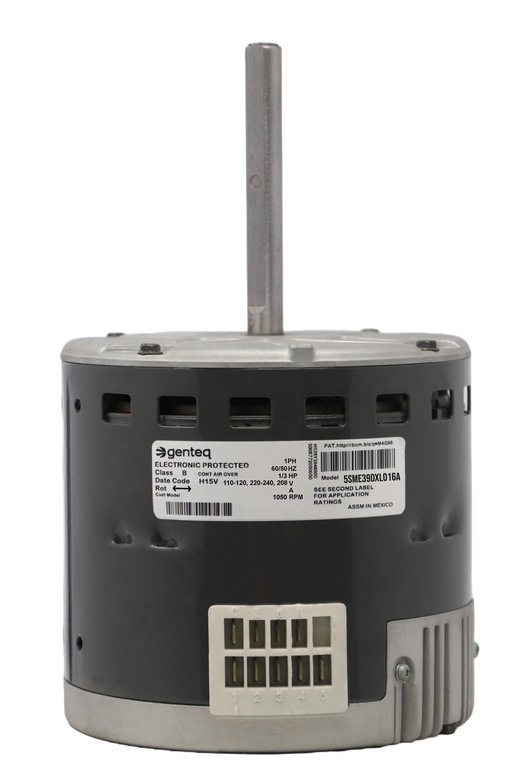
Remanufactured Motor by United HVAC Motors 2 Year Replacement Warranty (Terms Apply) Plug n Play - 100% Programmed Match your Motor Model N...
View full detailsRemanufactured Motor by United HVAC Motors 2 Year Replacement Warranty (Terms Apply) Plug n Play - 100% Programmed Match your Motor Model N...
View full details