Updated July 2026 · Reviewed by the United HVAC Motors technical team
Before you start.
- Power off at the breaker, not the thermostat.
-
Discharge the run capacitor. It holds a lethal charge with the system off.
- If your motor is an ECM, stop and read the ECM note below before you order anything. Getting this wrong can destroy the control board.
The job in brief
-
Time: 2 to 4 hours for a competent DIYer on a PSC motor.
-
Difficulty: moderate on PSC. Not a DIY job on a variable-speed ECM.
-
The step everyone underestimates: transferring the blower wheel. It is usually seized to the shaft and it must go back on at the exact same depth and orientation.
-
The step everyone skips: measuring static pressure. Skip it and the new motor will die like the old one.
This guide covers the physical swap. If you have not yet confirmed the motor is actually dead, start with how to test an HVAC blower motor — a large share of "dead motors" are a $30 capacitor. If you need help choosing the right replacement part, see blower motor installation and part selection.
Tools
- Nut driver set (5/16" does most furnace work) and screwdrivers
- Socket set and a hex key set (for the blower wheel set screw)
- Penetrating oil and a wheel puller (the wheel will be stuck; plan for it)
- Multimeter, insulated gloves, safety glasses
- Phone, for photographing the wiring before you touch it
- The correct replacement motor
Step 1: Kill Power and Discharge
Breaker off. Confirm dead with the meter. Then discharge the run capacitor before your hands go anywhere near the wiring. This is the step that puts people in hospital.
Step 2: Photograph Everything
Before you disconnect a single wire, photograph the wiring from several angles. Photograph the capacitor terminals. Photograph the motor's orientation in the housing and note which way the shaft points. You will not remember this in two hours, and the wiring diagram inside the panel is not always accurate to how the last technician left it.
Step 3: Remove the Blower Assembly
On most furnaces the entire blower assembly — housing, wheel, and motor together — slides out as one unit. Disconnect the wiring, remove the two or three bolts holding the assembly to the cabinet, and pull it out onto the floor. Working on a bench beats working folded into a furnace cabinet.
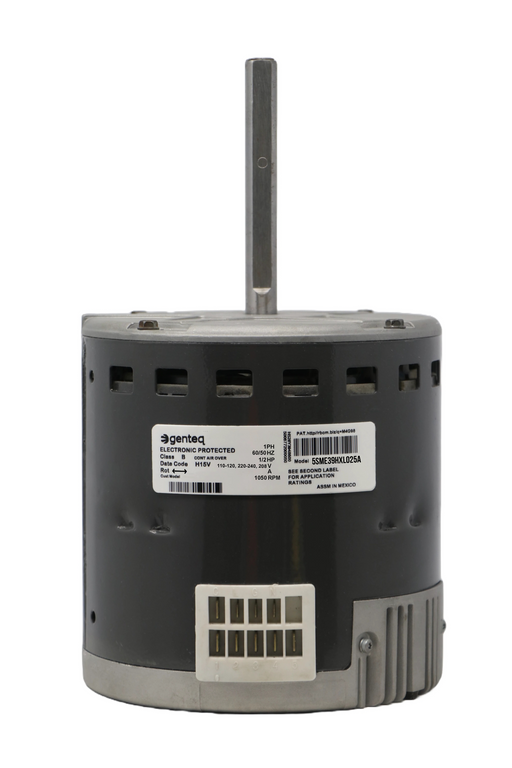
Remanufactured Blower Motors
Upgrade with United HVAC's remanufactured blower motors for top-tier performance and reliability.Trusted by over 10,000 customers, our motors deliver exceptional quality and save you money.
Learn More
Step 4: Transfer the Blower Wheel (The Hard Part)
This is where most DIY replacements go wrong, and no other guide gives it the space it deserves.
-
Mark the depth. Before loosening anything, mark on the shaft exactly where the wheel sits. If the wheel goes back on at a different depth, it will scrape the housing or lose airflow efficiency.
-
Loosen the set screw. Usually a hex or allen screw on the wheel hub. It is often torqued hard and sometimes has thread locker.
-
Expect it to be seized. Years of heat cycling weld the wheel to the shaft. Penetrating oil, patience, and a proper wheel puller. Do not lever against the wheel fins — you will bend them, the wheel will be out of balance, and the new motor's bearings will die early.
-
Clean the wheel while it is off. You will never have a better chance. A caked wheel is unbalanced and chokes airflow.
-
Fit to the new shaft at the marked depth, align the set screw with the flat on the shaft, and torque it properly.
Full cleaning method in our guide on cleaning an HVAC blower motor.
Step 5: Mount the New Motor
Fit the motor into the belly band or mounting bracket at the same orientation as the old one. Check that the shaft points the same way and that the motor's cooling vents are not obstructed. Confirm the rotation direction matches — a motor spinning backwards moves almost no air, and it is a surprisingly common mistake.
Original price
$329.99
-
Original price
$329.99
Original price
$329.99
$329.99
-
$329.99
Current price
$329.99
| /
Remanufactured Motor by United HVAC Motors
2 Year Replacement Warranty (Terms Apply)
Plug n Play - 100% Programmed
Match your Motor Model N...
View full details
Original price
$329.99
-
Original price
$329.99
Original price
$329.99
$329.99
-
$329.99
Current price
$329.99
| /
Original price
$329.99
-
Original price
$329.99
Original price
$329.99
$329.99
-
$329.99
Current price
$329.99
| /
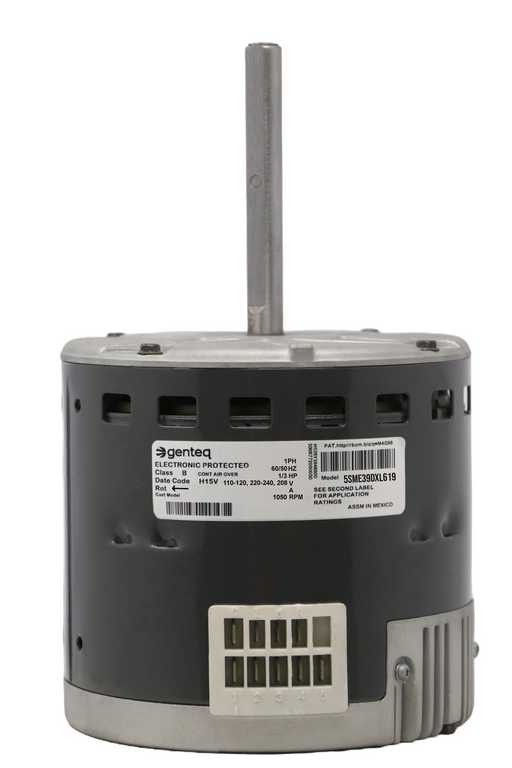
Remanufactured Motor by United HVAC Motors
2 Year Replacement Warranty (Terms Apply)
Plug n Play - 100% Programmed
Match your Motor Model N...
View full details
Original price
$329.99
-
Original price
$329.99
Original price
$329.99
$329.99
-
$329.99
Current price
$329.99
| /
Step 6: Wire It (Match the Photos)
Reconnect using your photos, not from memory. On a multi-tap PSC, the speed leads matter: connecting the wrong tap gives you the wrong CFM for heating or cooling, which shows up as poor comfort or a furnace tripping on high limit.
Fit a new capacitor while you are in there if the motor is a PSC. It is cheap, and the old one has been running alongside a failing motor. Replacing the motor while leaving a tired capacitor in place is false economy.
The ECM Note
If your motor is a variable-speed ECM, this is not a like-for-like swap you can improvise.
- The replacement must be programmed for your exact model. A generically-flashed ECM will run at the wrong airflow profile and give back all the efficiency you paid for, or refuse to run at all.
- Miswiring the control module can destroy the system control board, which costs more than the motor.
- Order a unit that ships pre-programmed and plug-and-play, or have a technician handle it.
Our remanufactured Genteq ECM and X13 motors ship programmed for the specific system, which removes this failure mode entirely. Background in ECM blower motors explained.
Step 7: Reassemble and Commission
- Slide the assembly back in, bolt it down, reconnect wiring.
- Restore power. Call for fan.
-
Listen. Scraping means the wheel is at the wrong depth. Vibration means the wheel is unbalanced or the set screw is loose.
-
Check amp draw against the motor's nameplate rating. Running over nameplate amps means something is wrong — usually airflow restriction — and the new motor is already on borrowed time.
-
Measure static pressure. If it is out of spec, that is what killed the last motor, and it will kill this one.
Common Mistakes
-
Blower wheel at the wrong depth — scrapes the housing or loses airflow.
-
Bent wheel fins from prying — permanent imbalance, early bearing failure.
-
Wrong rotation direction — the motor runs, almost no air moves.
-
Wrong speed tap — poor comfort, high-limit trips.
-
Reusing a tired capacitor — you will be back in the furnace within a year.
-
Ignoring static pressure — you have replaced the symptom, not the cause.
FAQs
How long does it take to replace an HVAC blower motor?
Two to four hours for a competent DIYer on a PSC motor. Most of that time goes into freeing a seized blower wheel from the old shaft.
Can I replace an HVAC blower motor myself?
A PSC motor is realistic if you are comfortable with basic electrical work and can safely discharge a capacitor. A variable-speed ECM is not a DIY job: it requires model-specific programming, and errors can destroy the control board.
Why is the blower wheel so hard to remove?
Years of heat cycling seize it to the shaft. Use penetrating oil and a wheel puller. Never pry against the fins — bending them permanently unbalances the wheel and destroys the new motor's bearings.
Should I replace the capacitor at the same time?
On a PSC motor, yes. It is inexpensive, and the existing capacitor has been running alongside a failing motor. Leaving it in place is a false economy.
My new blower motor failed quickly. Why?
Almost certainly high static pressure that was never diagnosed. Restricted airflow makes the motor draw more current and run hotter. Measure static pressure and fix the restriction, or the next one fails too.
How much does professional blower motor replacement cost?
$450 to $2,000 installed in 2026, depending on motor type. See our full cost breakdown.
Next Steps
Check the warranty before you buy (see blower motor warranty coverage). If out of warranty, compare OEM against a programmed remanufactured unit with a 2-year warranty. USA-based technical support in English and Spanish.
(813) 440-8108
Original price
$349.99
-
Original price
$349.99
Original price
$349.99
$349.99
-
$349.99
Current price
$349.99
| /
Remanufactured Motor by United HVAC Motors
2 Year Replacement Warranty (Terms Apply)
Plug n Play - 100% Programmed
Match your Motor Model N...
View full details
Original price
$349.99
-
Original price
$349.99
Original price
$349.99
$349.99
-
$349.99
Current price
$349.99
| /
Original price
$329.99
-
Original price
$329.99
Original price
$329.99
$329.99
-
$329.99
Current price
$329.99
| /
Remanufactured Motor by United HVAC Motors
2 Year Replacement Warranty (Terms Apply)
Plug n Play - 100% Programmed
Match your Motor Model N...
View full details
Original price
$329.99
-
Original price
$329.99
Original price
$329.99
$329.99
-
$329.99
Current price
$329.99
| /