Call Us
(813) 440-8108

Updated July 2026 · Reviewed by the United HVAC Motors technical team
Before you open anything: cut power at the breaker, not just the thermostat. If your motor has a run capacitor, discharge it before touching the wiring — it holds a lethal charge with the system off.
Test in this order
Most people skip straight to putting a meter on the motor terminals and end up replacing a healthy motor. This guide is the triage that comes first. For the exact electrical procedure once you get there, see testing a blower motor with a multimeter.
Set the thermostat to FAN ON (not AUTO). This calls for the blower alone, independent of heating or cooling.
Pull the access panel and look at the motor. One check settles it:
Is there a run capacitor? A cylindrical or oval canister wired to the motor.
Full identification detail in our guide to the types of HVAC blower motors, and if you cannot find the motor at all, where your blower motor is located.

Power off. Reach in and spin the blower wheel by hand.
This thirty-second test rules in or out an entire category of failure without any tools.
If the motor hums but does not spin, the capacitor is the prime suspect. Two ways to check without a meter:
A capacitor costs a fraction of a motor. Always rule it out before spending real money.
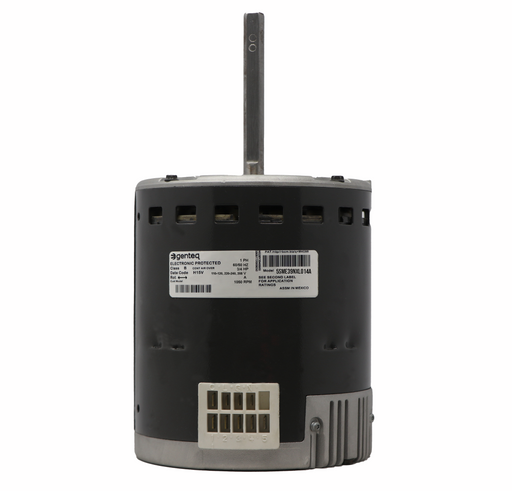
Remanufactured Motor by United HVAC Motors 2 Year Replacement Warranty (Terms Apply) Plug n Play - 100% Programmed Match your Motor Model N...
View full detailsRemanufactured Motor by United HVAC Motors 2 Year Replacement Warranty (Terms Apply) Plug n Play - 100% Programmed Match your Motor Model N...
View full detailsThis is the step that determines whether your next motor also dies.
Pull the filter. If it is grey and packed, that alone can explain weak airflow, overheating, and limit-switch trips. Check that return vents are not blocked by furniture or rugs. Look at the blower wheel: if the fins are caked with dust, airflow collapses and the motor has been overworking for years.
High static pressure is what kills blower motors, and it kills ECMs fastest, because an ECM responds to resistance by drawing more current and running hotter until its control module cooks. Measuring it properly needs a manometer, but the visual checks above catch most cases.
Only now is it worth putting a meter on it. The full procedure — continuity, winding resistance, capacitance, and voltage supply, with the important caveat that ECM diagnosis is different — is in our dedicated guide on how to test an HVAC blower motor with a multimeter.
Check the warranty first — many systems carry 10-year parts coverage (see blower motor warranty coverage). If it is out of warranty, compare the OEM quote against a remanufactured Genteq ECM or X13 motor: rebuilt to OEM spec, shipped pre-programmed, plug-and-play, 2-year warranty. Cost breakdown in our replacement cost guide.
Set the thermostat to FAN ON. If nothing runs, or it hums without spinning, or it runs weakly, the blower circuit is suspect. Then spin the wheel by hand: if it is stiff or gritty, the bearings are gone. If it spins freely, the fault is electrical, and on a PSC the capacitor is the most likely culprit.
Yes, for the most common failures. The FAN ON test, the hand-spin test, and a visual capacitor inspection catch the majority of cases. A multimeter is needed only to confirm winding or supply faults.
On a PSC motor this is the classic signature of a failed run capacitor. The motor is receiving power and trying to start but has no starting torque. The capacitor is inexpensive to replace.
No. ECMs have no run capacitor, and ohming the windings does not diagnose them the way it does a PSC. ECM failures are usually in the control module and require a different approach.
Almost always excessive static pressure from a clogged filter, undersized return, or restricted ducts. Fix the restriction or the replacement will fail too.
Work the list in order. Rule out the cheap causes before you buy anything expensive. USA-based technical support in English and Spanish.
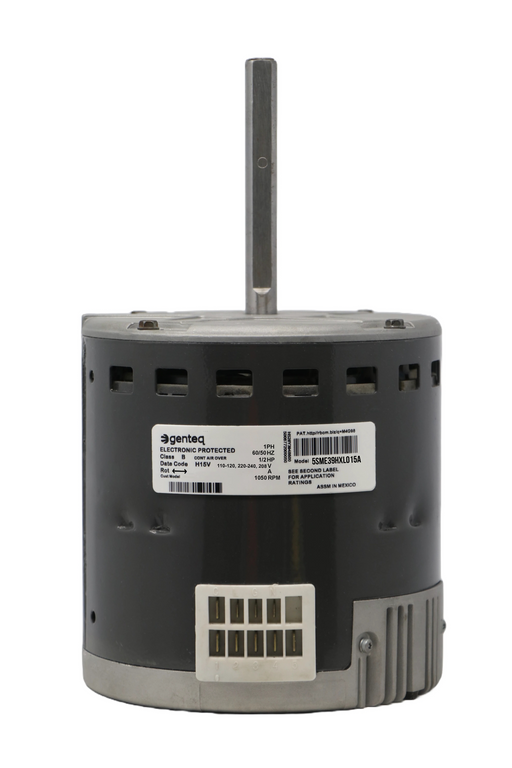
Remanufactured Motor by United HVAC Motors 2 Year Replacement Warranty (Terms Apply) Plug n Play - 100% Programmed Match your Motor Model N...
View full detailsRemanufactured Motor by United HVAC Motors 2 Year Replacement Warranty (Terms Apply) Plug n Play - 100% Programmed Match your Motor Model N...
View full details