(813) 440-8108

How to Replace HVAC Blower Motor
Replacing an HVAC blower motor can seem daunting, but it's a manageable task with the right tools and knowledge. The blower motor is critical for circulating air throughout your home, and a faulty motor can lead to poor airflow and increased energy costs. How to replace the blower motor can save you money on professional repairs.
This article will provide a step-by-step guide to replacing your HVAC blower motor. We'll cover the necessary tools, safety precautions, and detailed instructions to help you complete the task successfully.
Tools and Materials Needed
- New blower motor
- Screwdriver set
- Insulated gloves
- Safety goggles
- User manual of the HVAC system
- Multimeter
- Wrench set
Safety Precautions
Before starting, ensure that the power to your HVAC system is turned off at the circuit breaker. Wear insulated gloves and safety goggles to protect yourself from electrical shocks and debris. Follow the safety instructions provided in your HVAC system's manual.
👉🏻 Read More: Understanding Blower Motor Warranty
Step-by-Step Guide
Step 1: Access the Blower Motor
Locate the blower motor within your HVAC system. This is usually found behind the access panel. Use a screwdriver to remove the panel and expose the blower motor and its wiring.
Step 2: Disconnect the Blower Motor
Carefully disconnect the wires connected to the blower motor. Note the connections or take a photo for reference. Remove the mounting screws or bolts that hold the blower motor in place using a wrench or screwdriver.
Step 3: Remove the Old Blower Motor
Gently remove the blower motor from the HVAC unit. Be cautious of any sharp edges or components that could be damaged during removal.
Remanufactured Motor by United HVAC Motors
2 Year Replacement Warranty (Terms Apply)
Plug n Play - 100% Programmed
Match your Motor Model N...
Remanufactured Motor by United HVAC Motors
2 Year Replacement Warranty (Terms Apply)
Plug n Play - 100% Programmed
Match your Motor Model N...
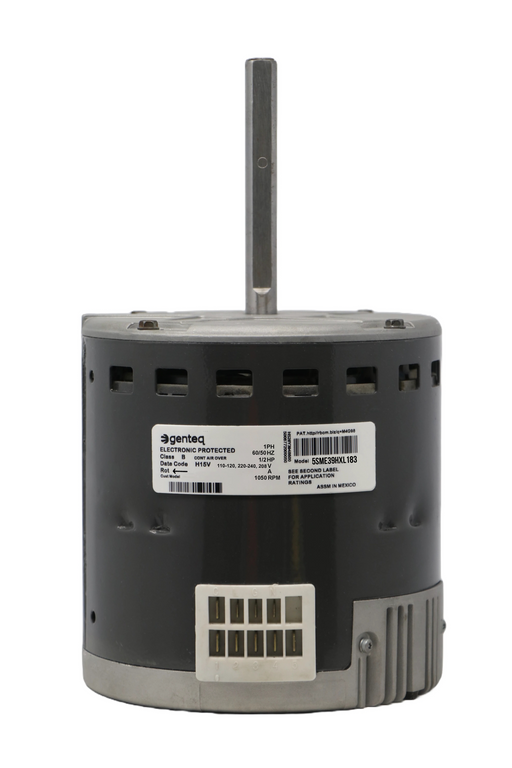
5SME39HXL183 GE Genteq Blower Motor ECM X13 1/2 HP
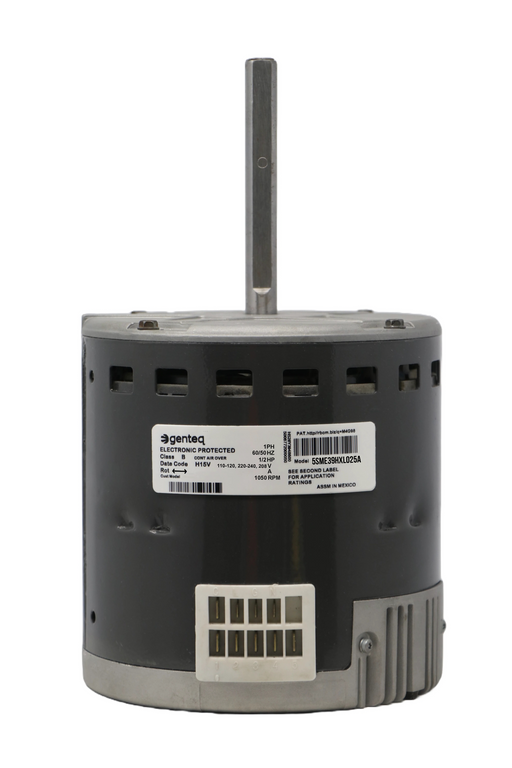
5SME39HXL025A GE Genteq Blower Motor ECM X13 1/2 HP
Step 4: Prepare the New Blower Motor
Compare the new blower motor with the old one to ensure they are identical. Check the specifications to ensure the new motor is compatible with your HVAC system. Follow the manufacturer's instructions to prepare the new motor for installation.
Step 5: Install the New Blower Motor
Place the new blower motor in the same position as the old one. Secure it with the mounting screws or bolts. Reconnect the wires according to your notes or the photo you took earlier.
Step 6: Test the New Blower Motor
Turn the power back on and run the HVAC system. Check the new blower motor for proper operation. Ensure that it runs smoothly without unusual noises or vibrations. If necessary, use a multimeter to check the voltage and current.
Common Issues and Troubleshooting
Improper Fit
Ensure the new motor matches the old one in size and specifications.
Loose Connections
Double-check all electrical connections to avoid loose or incorrect wiring.
Operational Issues
If the new motor does not run properly, recheck the installation steps and consult the manual.
👉🏻 Read More: How to Install a Blower Motor: A Comprehensive Step-by-Step Guide
Conclusion
Replacing your HVAC blower motor can enhance system efficiency and airflow. By following this guide, you can confidently replace the blower motor and maintain your HVAC system's performance.
Explore our selection of remanufactured blower motors on our website to find the perfect fit for your HVAC system.
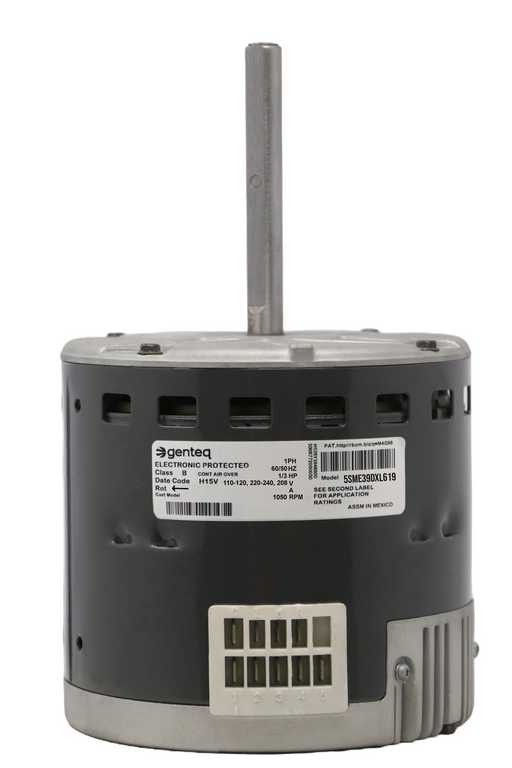
5SME39DXL619 GE Genteq Blower Motor ECM X13 1/3 HP
Remanufactured Motor by United HVAC Motors 2 Year Replacement Warranty (Terms Apply) Plug n Play - 100% Programmed Match your Motor Model N...
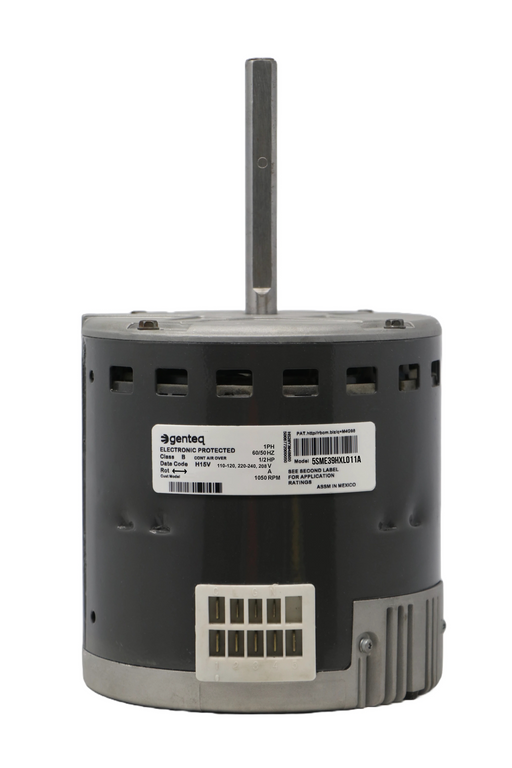
View full details5SME39HXL011A GE Genteq Blower Motor ECM X13 1/2 HP
Remanufactured Motor by United HVAC Motors 2 Year Replacement Warranty (Terms Apply) Plug n Play - 100% Programmed Match your Motor Model N...
View full details


